Configuring TDS To Use Code Generation Using Glass Mapper
I’ve talked previously in, Installing And Configuring TDS For Sitecore about some of the benefits of using TDS. Another benefit of purchasing a TDS license is integration with GlassMapper and it’s auto-code generation ability. In today’s post, I’m going to go over the process of setting up TDS with glass mapper so your project will auto-generate classes for your Sitecore items
Software List
To get Sitecore to auto-generate Sitecore items as classes, you will need a few NuGet packages. I’m assuming you’ve already set-up TDS as per, Installing And Configuring TDS For Sitecore.
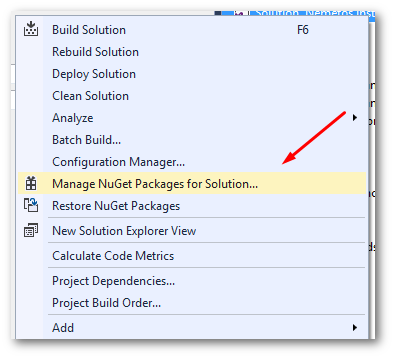
In Visual Studio, open your project and in solution explorer, right click on your project to open the context menu and select ‘Manage NuGet Packages for solution’.
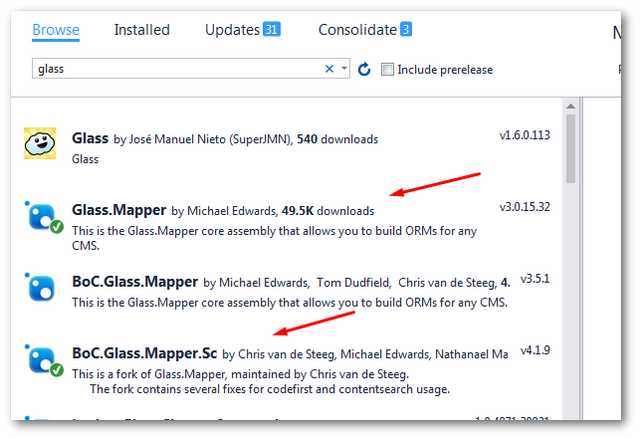
In Nuget manager, browse for glass and the results you will need to install:
- Glass.Mapper
- BoC.Glass.Mapper.Sc
To install GlassMapper, make sure you have Sitecore.Kernel.dll and System.Web.Mvc.dll referenced in your project. If you do not, when you come to install Glassmapper via Nuget, it won’t install Glass.Mapper.Sc.dll and Glass.Mapper.Sc.Mvc.dll and your web build will break 🙁 You should now have everything you need to get started.
Issues When Configuring GlassMapper With TDS
As always, I think it’s a good idea to go over what went wrong for me in order to try and save you time. The first error I got was definitely an odd one. After configuring TDS (see below) when TDS attempted to generate the objects class it failed. When I looked within the generated class I could see the below error:
An error occurred while generating code for item '/Sitecore/content'

Invalid token 'this' in class, struct, or interface member declaration. Compiling transformation: Method must have a return type. Compiling transformation: Type expected”
After a lot of head-scratching, this error was due to the way I downloaded the TDS T4 templates. You will need to download 6 custom files to get the transformation to work from Hedgehogs Github page. The files have been saved with a Unix encoding and Visual Studio doesn’t like that. To get around this error, I had to manually view each file in ‘Raw’ view then copy and paste the template manually into the files within my Visual Studio. Copying the templates using RAW view gets rid of the encoding issue and allows Visual Studio to run without any drama. More information about this error can be found here.
Unable to add ‘class’. A file with that name already exists
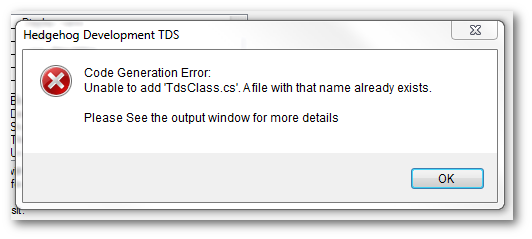
This was the second issue I faced configuring GlassMapper and this was down to me incorrectly adding in the target file path. I used the wrong type of slash, and I didn’t use ‘.\’ to denote the relative path. If you get a file name already exists error, then I would recommend making sure you only put a class name in the target file only and test that fixes the issue. More troubleshooting tips can be found here.
Configuring TDS with GlassMapper
Open up the TDS properties dialog. You can do this by right-clicking on your TDS project in solution explorer and select ‘Properties’ from the context menu.
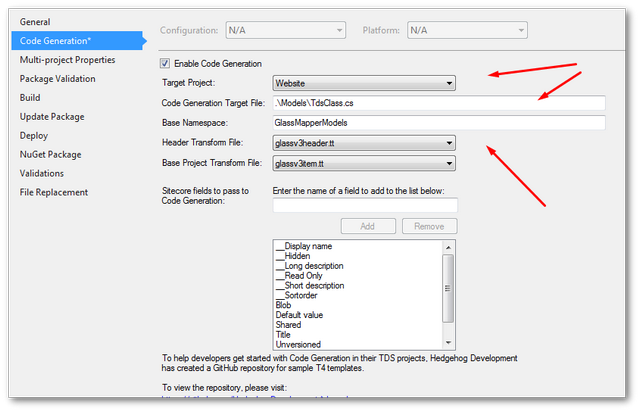
Go to the ‘Code Generation’ tab. This is the area that you can configure TDS with Glassmapper. You will need to add in the following properties:
- Enable Code Generation Checkbox
- Select the target project (this is the website or class library you want the generated classes to live)
- Add in the Folder, class name and .cs extension (be sure to use the right \ otherwise TDS will moan
- Add in the namespace
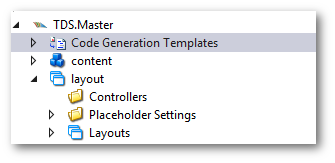
After filling in these details, select ‘Save’. When you look within solution explorer in your TDS project you should now see a new folder called ‘Code Generation Templates’.
In here you need to add some custom Sitecore transformation files, known as T4 templates. These T4 templates can be thought of like the instruction manual to tell GlassMapper how to convert Sitecore data in C# classes. These files are the bit that create the ‘magic’ auto code generation. You can get the templates here. Download the following three files:
- Helpers.tt
- GlassV3Header.tt
- GlassV3Item.tt
- GeneralExtensions.tt
- Inflector.tt
- StringExtensions.tt
Read my notes below about issues encountered when you download these files, do not use Github’s ‘Download It’ option. Add the templates and include them to your Visual Studio project file. Go back to the TDS properties -> Code Generation’ section. You now need to configure the ‘Header Transform File’ and the ‘Base Project Transform File’ Header Transform File -> GlassV3Header.tt Base Project Transform File -> GlassV3Item.tt When you save the project the file you specified in the target path should be generated with some code, mine looked like this:
namespace GlassMapperModels
{

	public partial interface IGlassBase{

		[SitecoreId]
		Guid Id{ get; }

		[SitecoreInfo(SitecoreInfoType.Language)]
        Language Language{ get; }

        [SitecoreInfo(SitecoreInfoType.Version)]
        int Version { get; }

	}

	public abstract partial class GlassBase : IGlassBase{

		[SitecoreId]
		public virtual Guid Id{ get; private set;}

		[SitecoreInfo(SitecoreInfoType.Language)]
        public virtual Language Language{ get; private set; }

        [SitecoreInfo(SitecoreInfoType.Version)]
        public virtual int Version { get; private set; }

		[SitecoreInfo(SitecoreInfoType.Url)]
        public virtual string Url { get; private set; }
	}
}
Generating Some Code
Now we have everything set-up, TDS and Glass Mapper should generate some code for you.
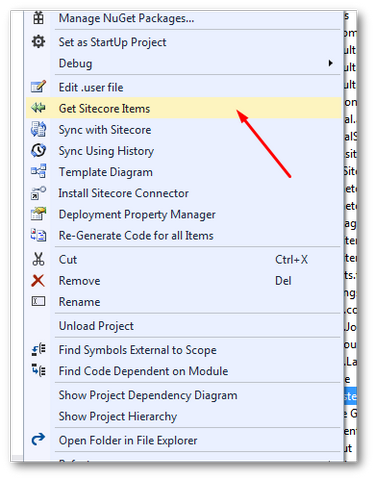
To get started, right-click on your TDS project and select ‘Get Sitecore Items’.
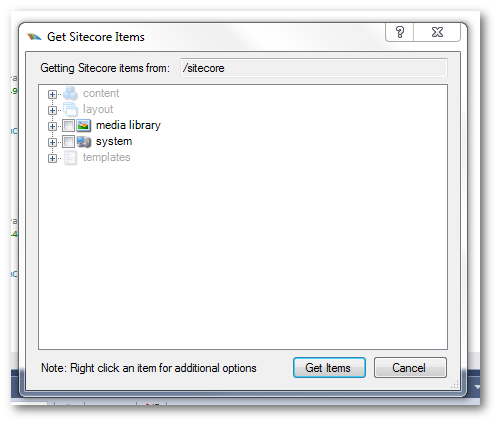
From here you should be able to see the ‘Get Sitecore Items’ dialog. TDS and glass mapper will sync any templates you have added to your solution. To get an item automatically generated for you, simply include it in your project. When you click ‘Ok’, have a look in your TDS generated model class and you should see an interface and a model for each template you’ve included/