Install SQL Server 2017 Developer Edition
Solid tutorial to install sql server !
http://www.sqlservertutorial.net/install-sql-server/
To install SQL Server, you need to download it from the Microsoft.com website via the following link:
Once the download completes, you double-click the file SQLServer2017-SSEI-Dev.exe to launch the installer.
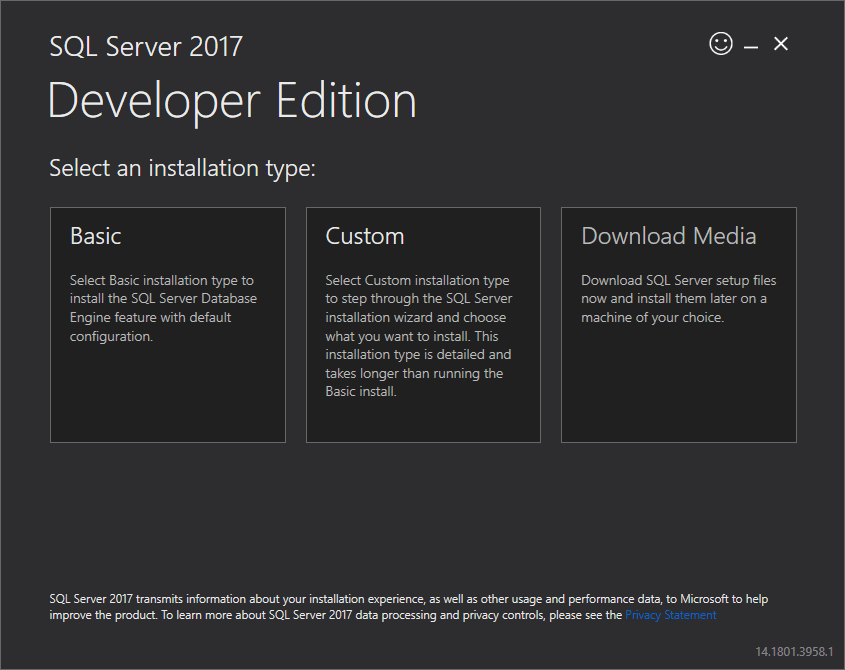
1. The installer asks you to select the installation type, choose the Custom installation type allows you to step through the SQL Server installation wizard and select the features that you want to install.
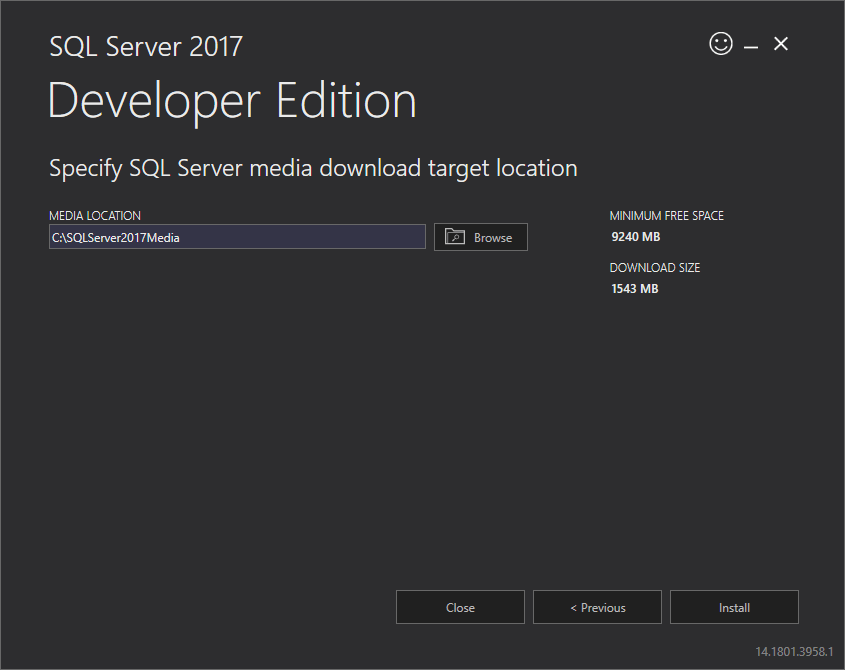
2. Specify the folder for storing the installation files that the installer will download, then click the Install button.
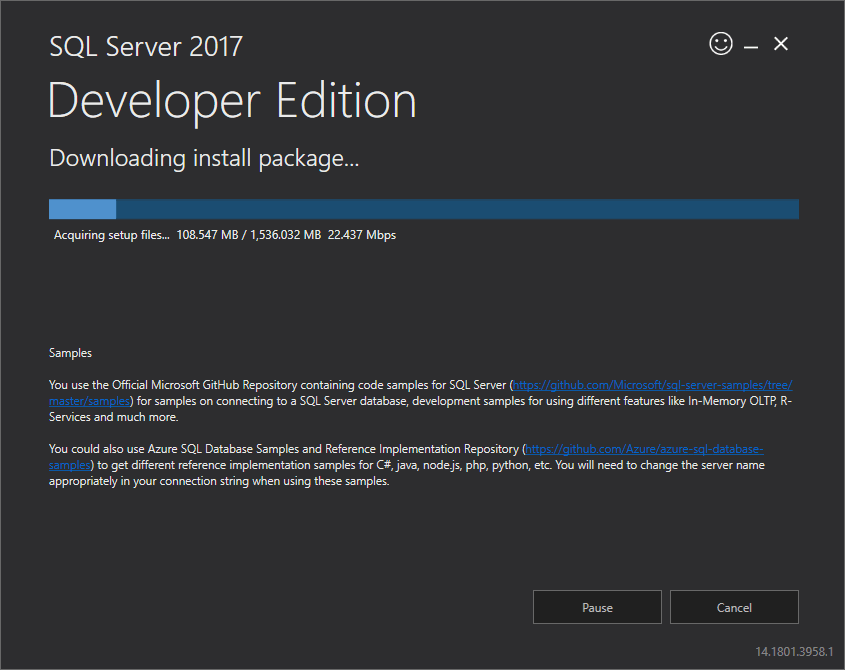
3. The installer starts downloading the install package for a while.
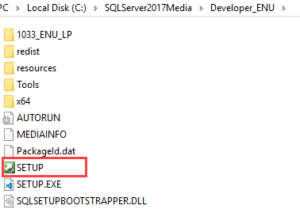
4. Once the download completes, open the folder that stores the install package and double-click the SETUP.exe file.
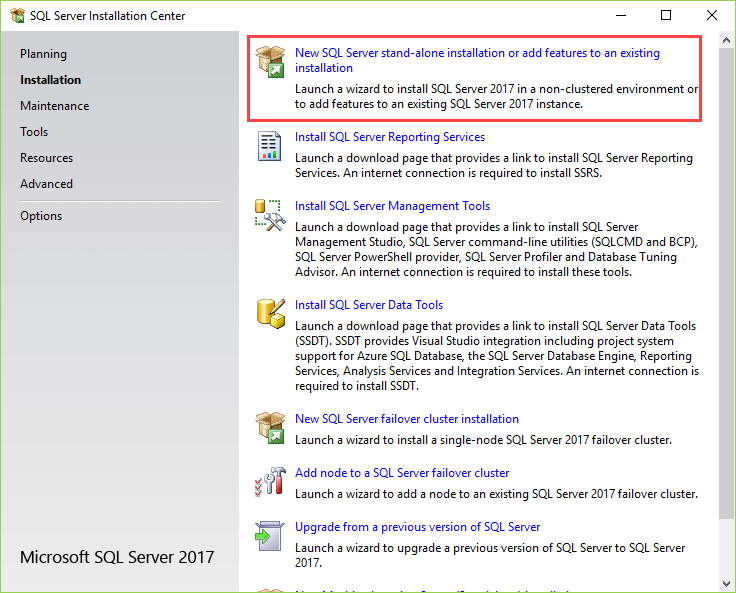
5. The following window displays; select the installation option on the left.
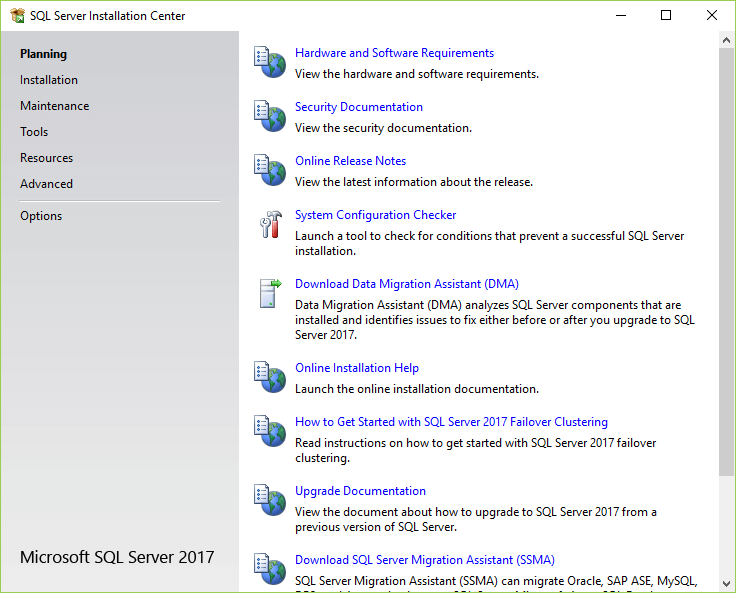
6. Click the first link to launch a wizard to install SQL Server 2017.
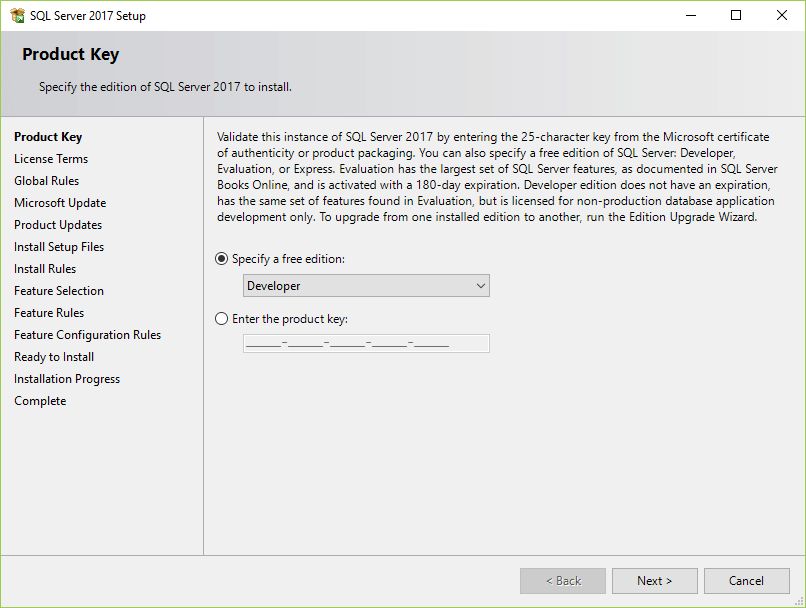
7. Specify the edition that you want to install, select Developer edition and click the Next button.
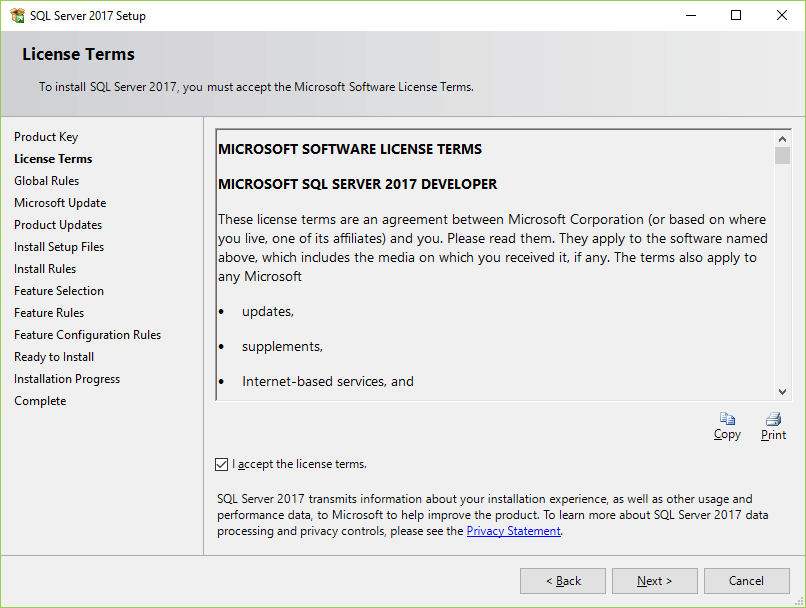
8. Select the “I accept the license terms.” and click the Next button.
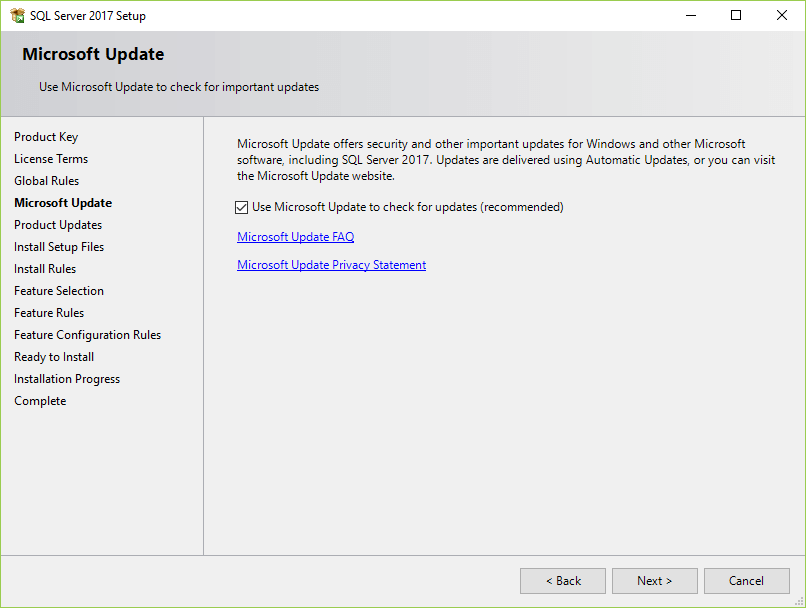
9. Check the “Use Microsoft Update to check for updates (recommended)” to get the security and other important updates for the SQL Server and click the Next button.
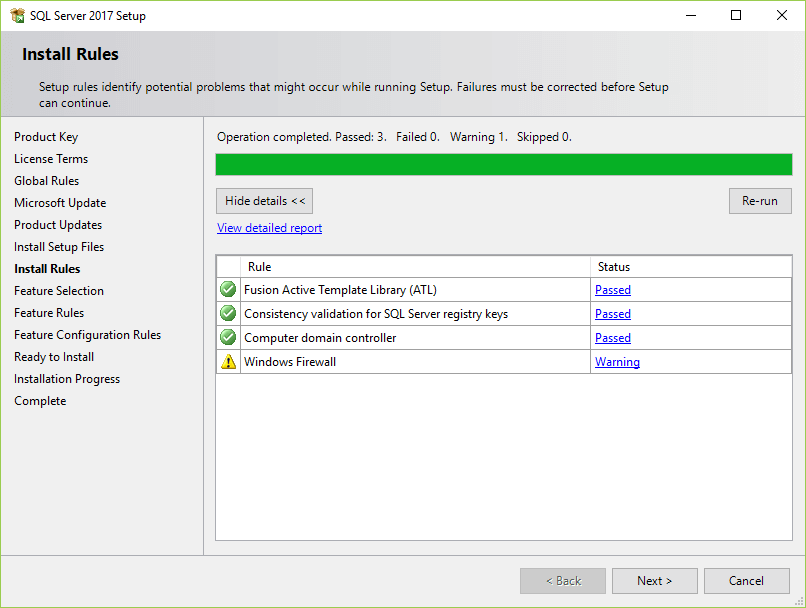
10. The installation checks for the prerequisites before installation. If no error found, click the Next button.
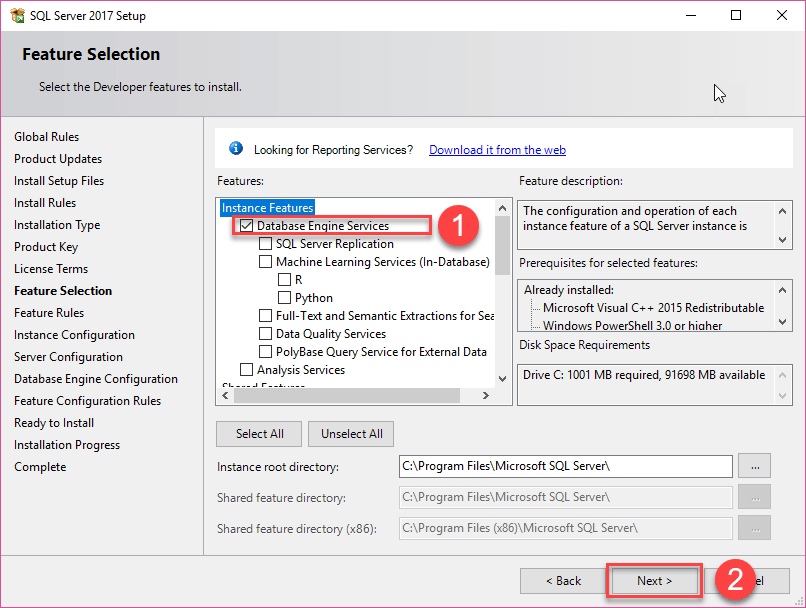
11. Select the features that you want to install. For now, you just need the Database Engine Services, just check the checkbox and click the Next button to continue
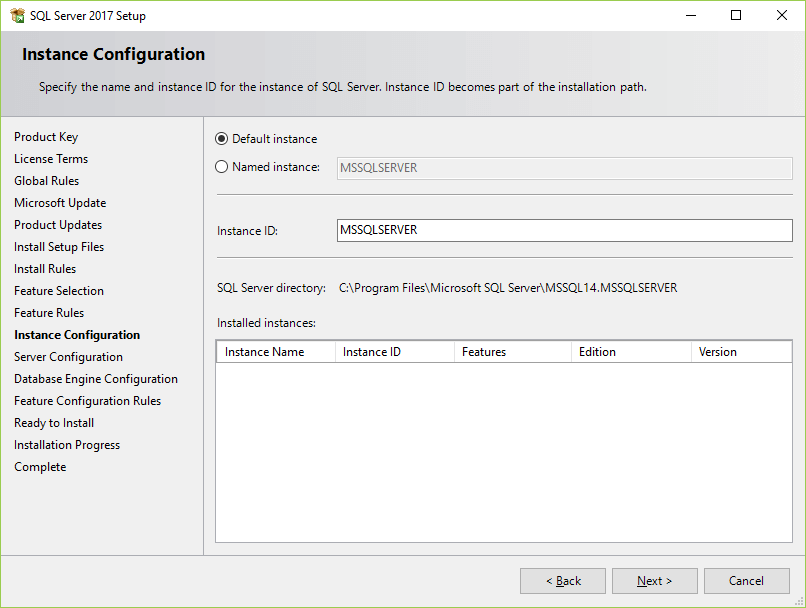
12. Specify the name and install ID for the instance of the SQL Server and click the Next button.
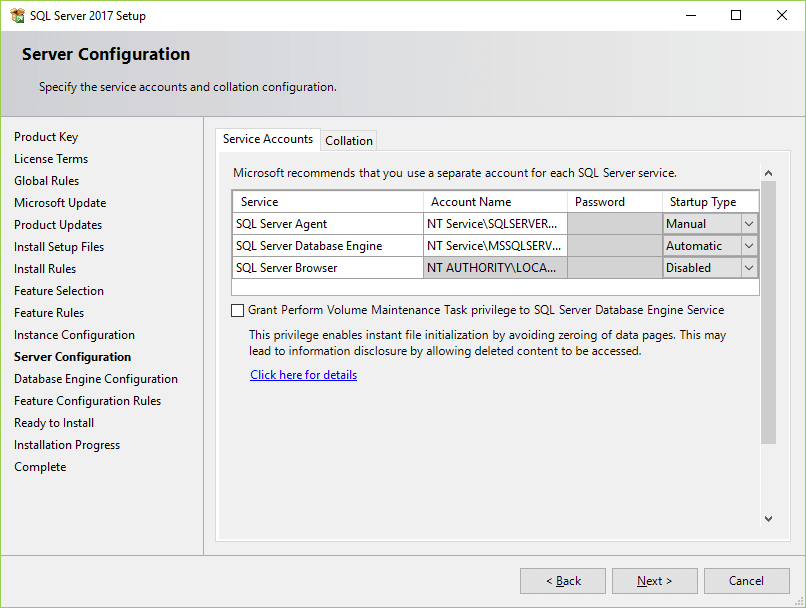
13. Specify the service account and collation configuration. Just use the default configuration and click the Next button.
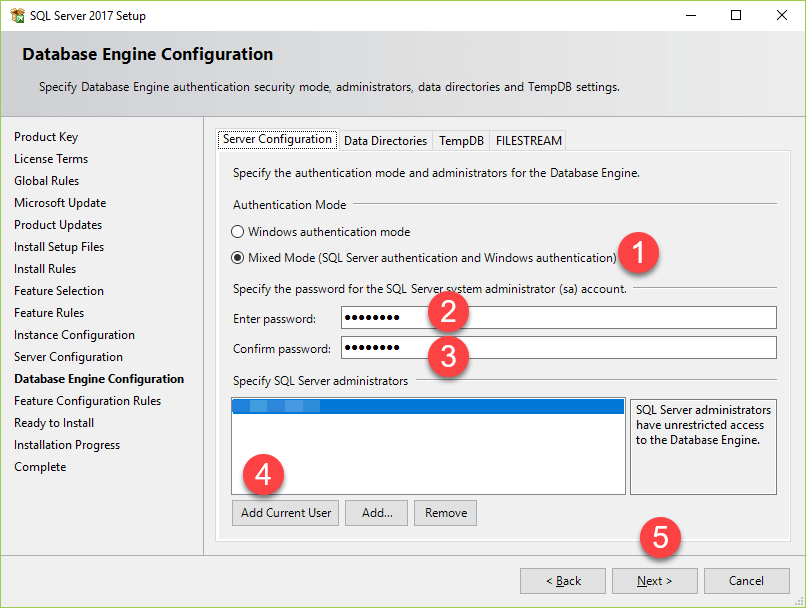
14. Specify the database engine security mode. First, choose Mixed Mode. Next, enter the password for the SQL Server system administrator (sa) account. Then, re-enter the same password to confirm it. After that, click the Add Current User button. Finally, click the Next button.
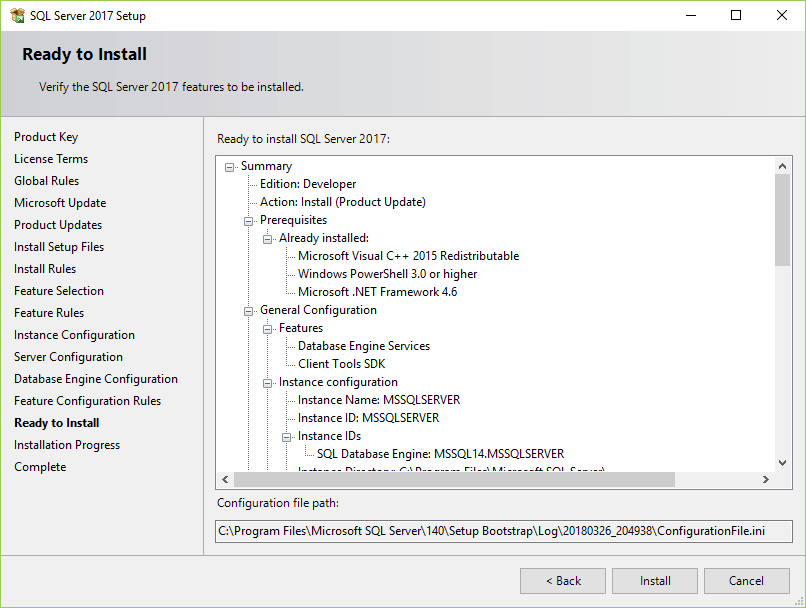
15. Verify the SQL Server 2017 features to be installed:
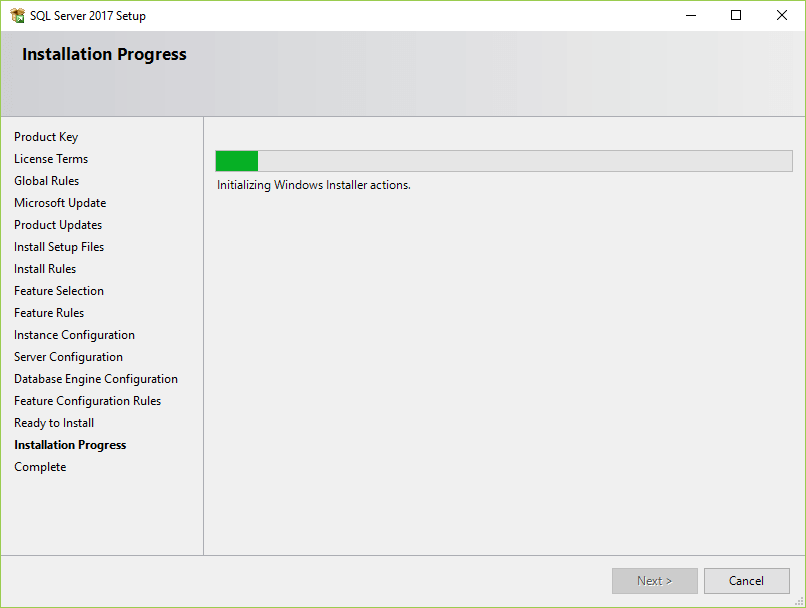
16. The installer starts the installation process
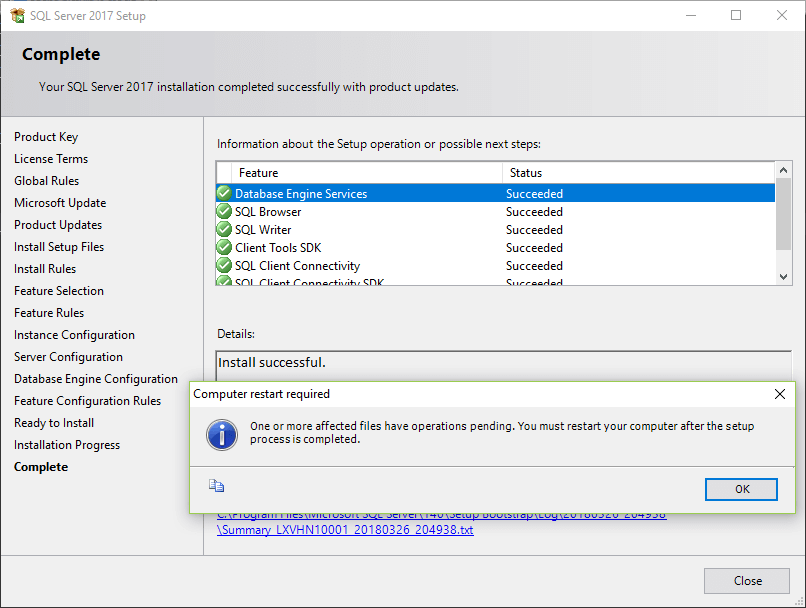
17. Once it completes, the following window displays. Click the OK button.
18. Click the Close button to complete the installation
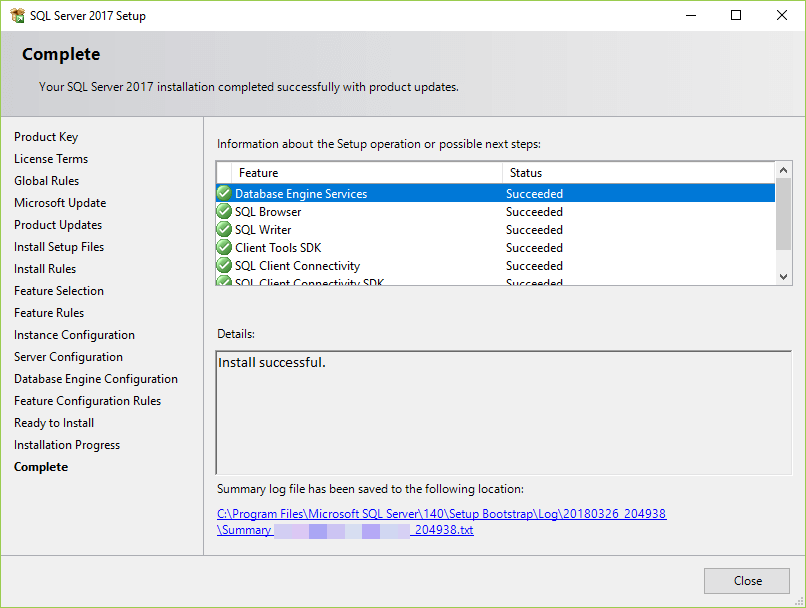
Congratulation! you have successfully installed SQL Server Developer Edition.
Install Microsoft SQL Server Management Studio
To interact with SQL Servers, you need to install SQL Server Management Studio (SSMS). The SQL Server Management Studio is a software for querying, designing, and managing SQL Server on your local computer or in the cloud. It provides you with tools to configure, monitor, and administer SQL Server instances.
First, download the SSMS from the Microsoft website via the following link:
Download SQL Server Management Studio
Second, double-click the installation file SSMS-Setup-ENU.exe to starting installing. The installation process of SMSS is straightforward which you just need to follow the screen sequence.
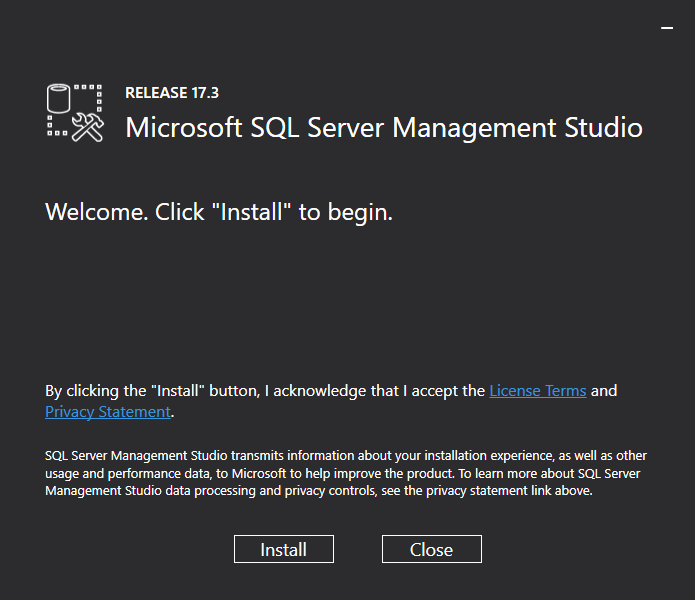
1. Click the Install button
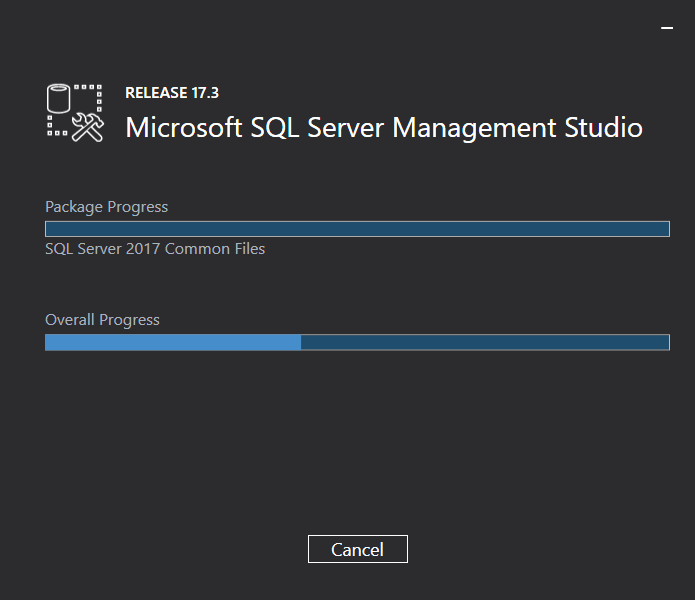
2. Wait for few minutes while the installer sets up the software.
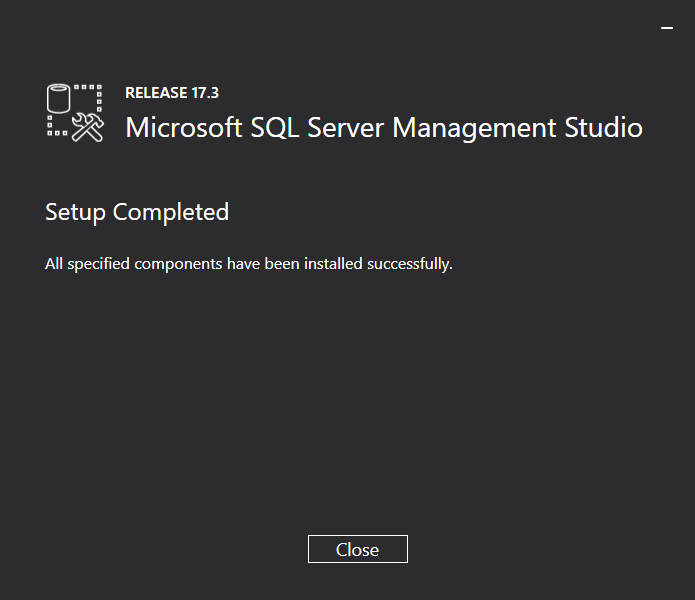
3. Once setup is completed, click the Close button
Now, you should have a SQL Server 2017 and SQL Server Management Studio installed on your computer. Next, you will learn how to connect to the SQL Server 2017 from the SQL Server Management Studio.